
The first step in developing a Visual Basic 2017 application is to build a graphical user interface. To build a graphical user interface, add controls from the toolbox to the form and then customize their properties. Note that the default form is also a control by itself and you can change its properties first before adding additional controls. After adding controls to the form, you then need to write code for all the controls so that they can response to events triggered by the user’s actions such as clicking the mouse. Therefore, Visual Basic 2017 is also an event-driven programming language.
When you start a new Visual Basic 2017project, the IDE will display the default form along with the Solution Explorer window and the Properties window on the far right, as shown in Figure 2.1.
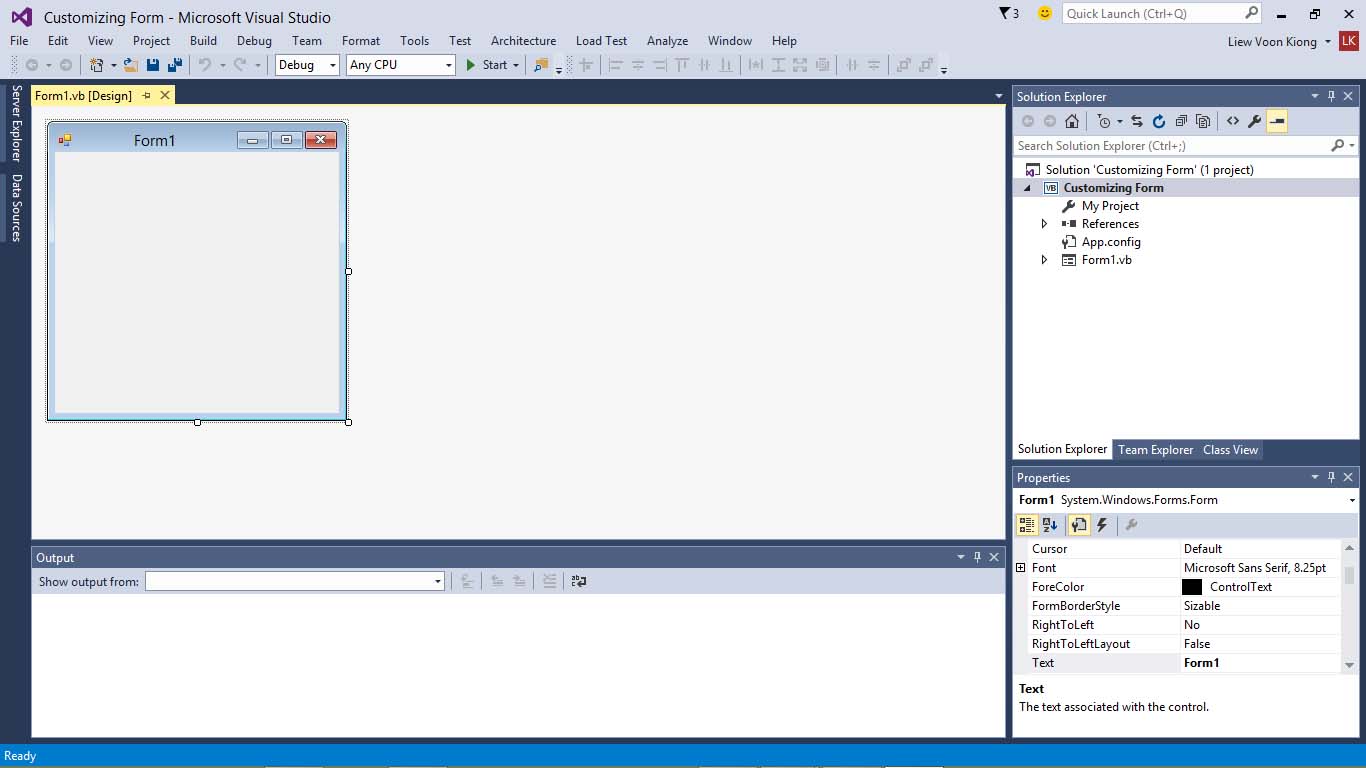
The properties window comprises an object drop-down list, a list of properties and the bottom section that shows a description of the selected property. As the only object on the IDE is the default form by the name of Form1, the properties window displays all properties related to Form1 and their corresponding attributes or values, as shown in Figure 2.2. You can change the name of the form, the title of the form, the background color, the foreground color, the size and more. Properties can be changed by typing a value or select a value from a drop-down list.For the color setting, you just need to select a color rectangle or from a color palette.

Now let us specify the following properties for Form1:
| Property | Value |
|---|---|
| Name | MyForm |
| Text | My First VB2017 Program |
| BackColor | 128, 255, 255 |
| MaximizeBox | False |
| Font | Arial, 9.75pt |
* The value for Backcolor (background color) 128,255,255 is actually the RGB color code for Cyan. Instead of typing the RGB value, you can indeed select a color from the color drop-down list that comprises three tabs, Custom, Web, and System. Clicking on the drop-down arrow will bring out a color palette or a list of color rectangles where you can select a color, as shown the figures below:

|

|

|
The runtime interface is shown in Figure 2.6. Notice that the title of the form has been changed from Form1 to My First VB2017 Project, the background changed to cyan color and the window cannot be maximized.

You can also change the properties of the form at run-time by writing the relevant codes. The default form is an object and an instant of the form can be denoted by the name Me. The property of the object can be defined by specifying the object’s name follows by a dot or period:
ObjectName.property
For example, we can set the background color of the form to cyan using the following code
Me.BackColor=Color.Cyan
To achieve the same interface as in Figure 2.6, type in the following code by clicking the form to enter the code window:
Public Class Form1
Private Sub Form1_Load(ByVal sender As Object, ByVal e As EventArgs)Handles MyBase.Load
 Me.Text = “My First VB2017 Program”
 Me.BackColor = Color.Cyan
 Me.MaximizeBox=False
 Me.MinimizeBox = True
End Sub
End Class
You can also specify the size, the opacity and the position of the default form using the code, as follows:
Private Sub Form1_Load(sender As Object, e As EventArgs Handles MyBase.Load
Me.Text = “My First VB2015 Project”
Me.BackColor =Color.Beige
Me.MaximizeBox = False
Me.MinimizeBox = True
'Specifying the form size to 400pixel x 400pixel
Me.Size = New Size(400, 400)
'To set the form opacity at 85%
Me.Opacity = 0.85
'To position the form at the center of the screen
Me.CenterToParent()
End Sub
The runtime interface is shown in Figure 2.7
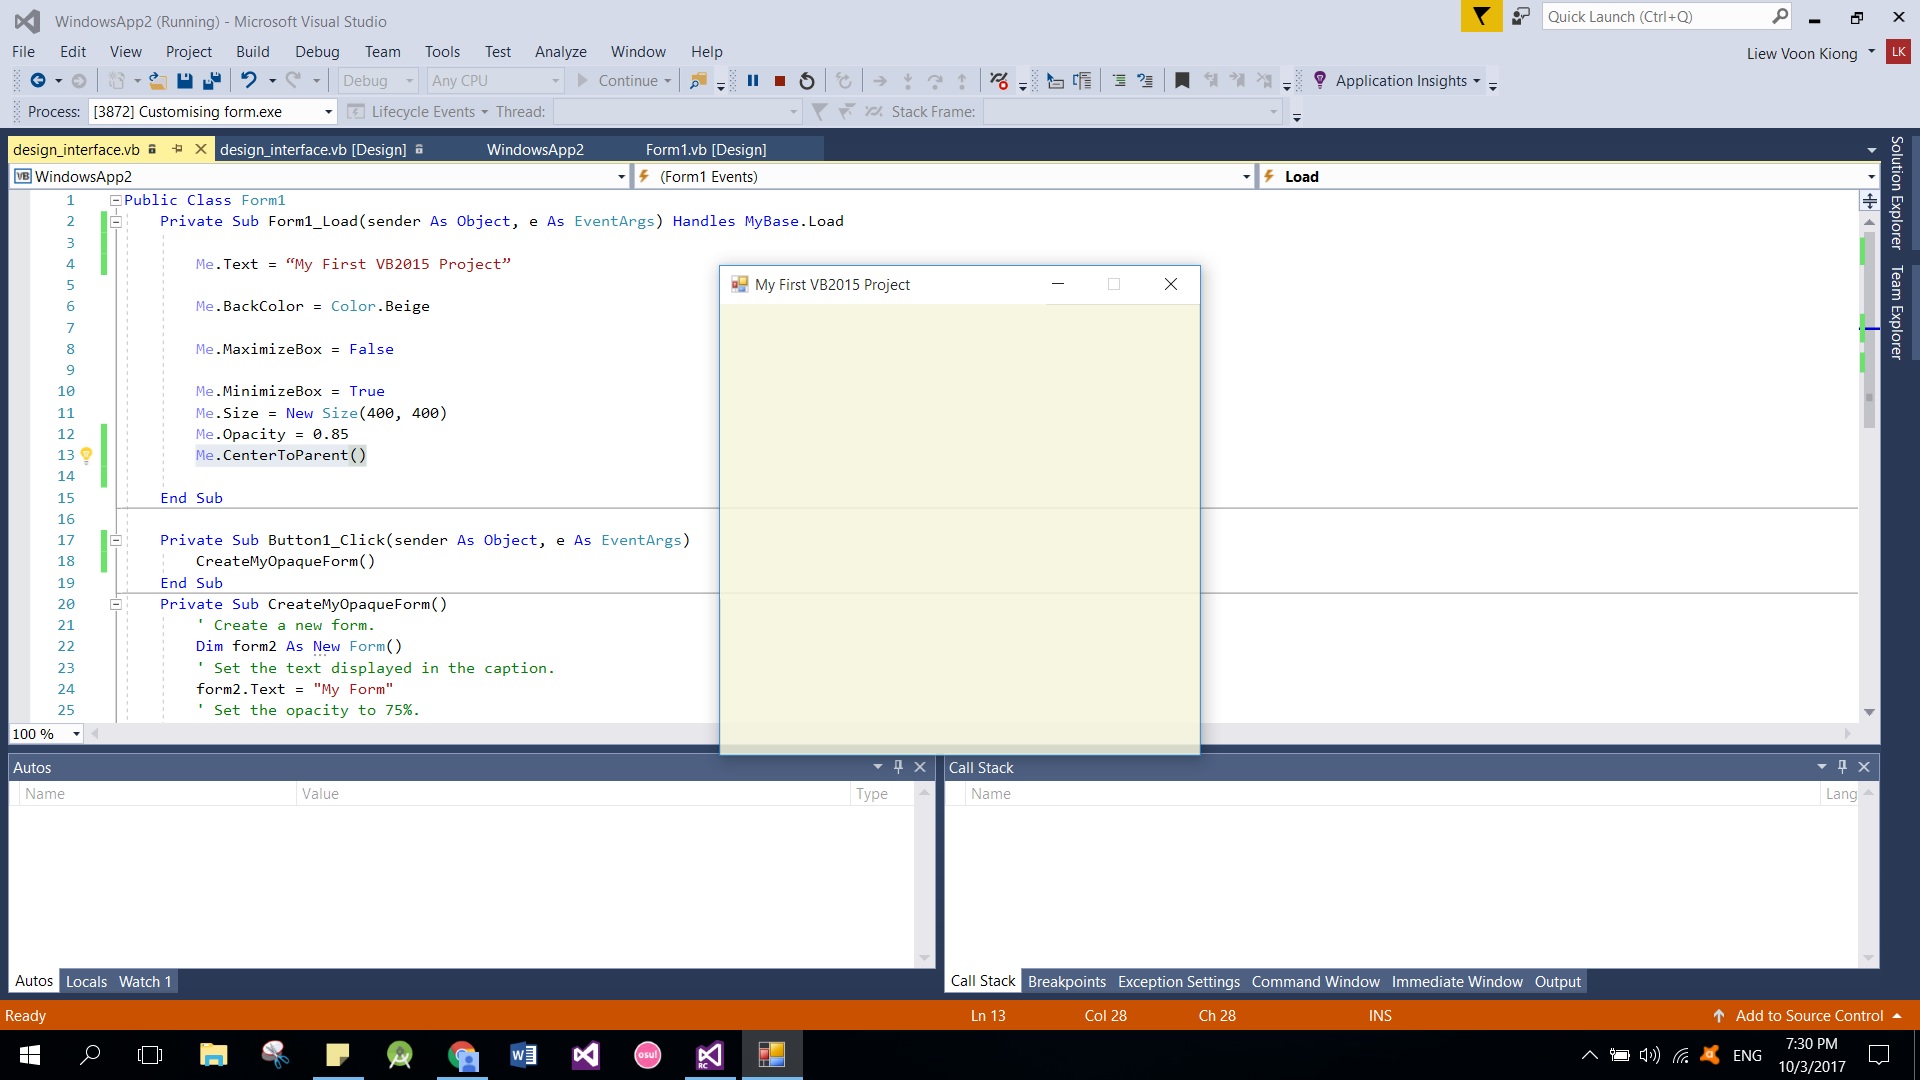
Notice that the form is positioned in the center of the screen and the faint lines appear behind form as its opacity was set to 85%.
Copyright©2008 Dr.Liew Voon Kiong. All rights reserved |Contact|Privacy Policy