
Visual Basic Express 2013 is the version of Visual Basic launched by Microsoft in 2013. It is a fully object-oriented programming language implemented on the .NET Framework. Similar to Visual Basic 2012, Visual Basic Express 2013 is integrated with other Microsoft Programming languages C# and C++ in an IDE known as Visual Studio 2013. Although Microsoft had launched the latest Visual Studio 2017, you can still download the older version Visual Studio 2013 Express Edition from the following link
https://www.visualstudio.com/vs/older-downloads/
Upon clicking the download link, you will be presented with the screen as shown in Figure 1.1

As we are focusing on learning VB2013 for desktop, select Visual Studio Express 2013 for Windows Desktop from the available links.
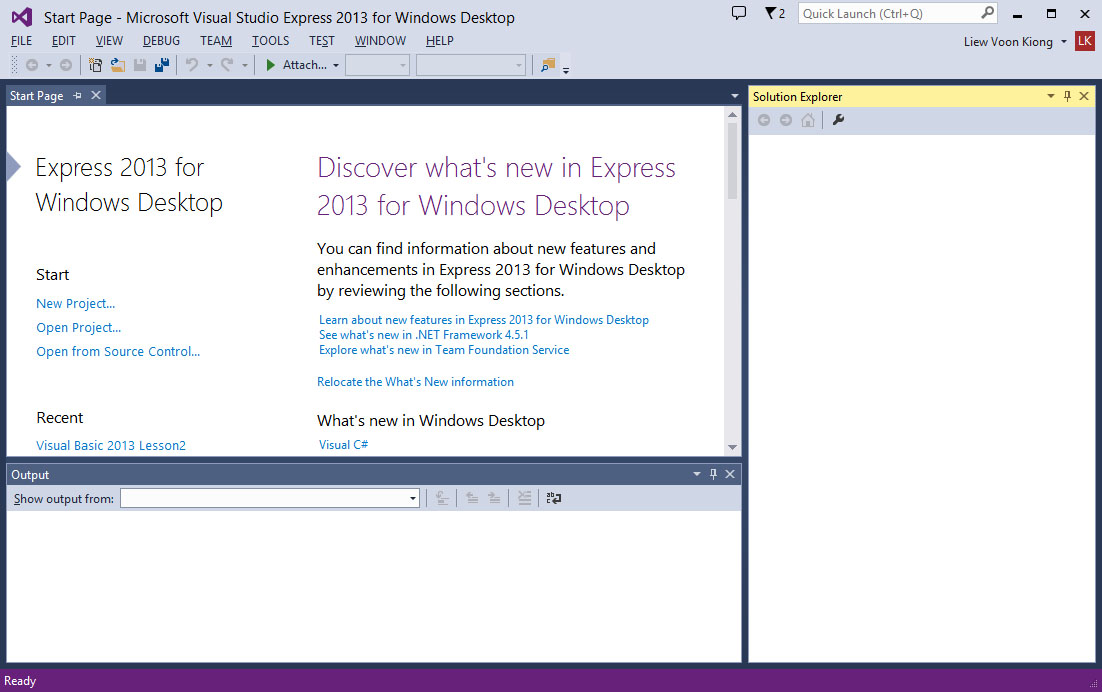
The initial window is the Start Page tab. To start a new Visual Studio Express 2013 project, click on New Project under the Start section to launch the Visual Studio 2013 New Project page as shown in Figure 1.3 below. You can also choose to open a recent project:
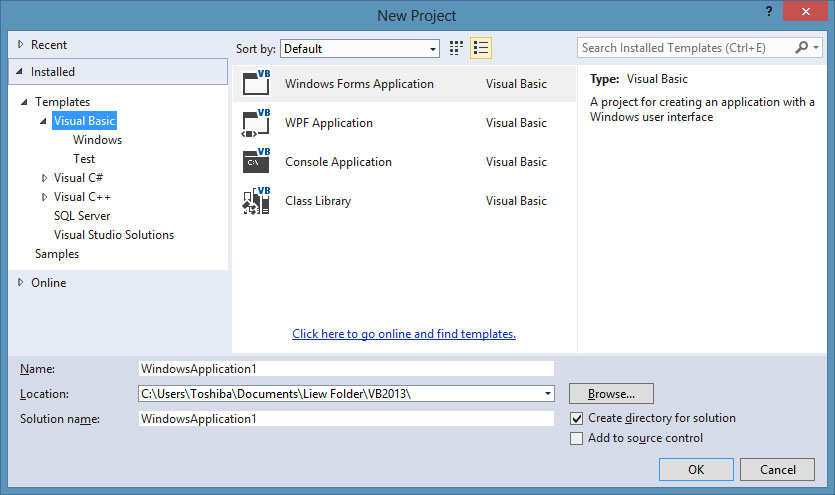
The New Project Page comprises three templates, Visual Basic, Visual C# and Visual C++. Since we are only learning Visual Basic 2013, we shall select Visual Basic. Visual Basic 2013 offers you four types of projects that you can create, they are Windows Forms Application, WPF Application, Console Application and Class Library.
Since we only learn how to create Windows applications, we shall select Windows Forms Application.At the bottom of this dialog box, you can change the default project name WindowsApplication1 to some other name you like, for example, MyFirstProgram. After you have renamed the project, click OK to continue. The following IDE Windows will appear, it is similar to Visual Basic 2012. The Toolbox is not shown until you click on the Toolbox tab.When you click on the Toolbox tab or use the shortcut keys Ctrl+w+x, the common controls Toolbox will appear.
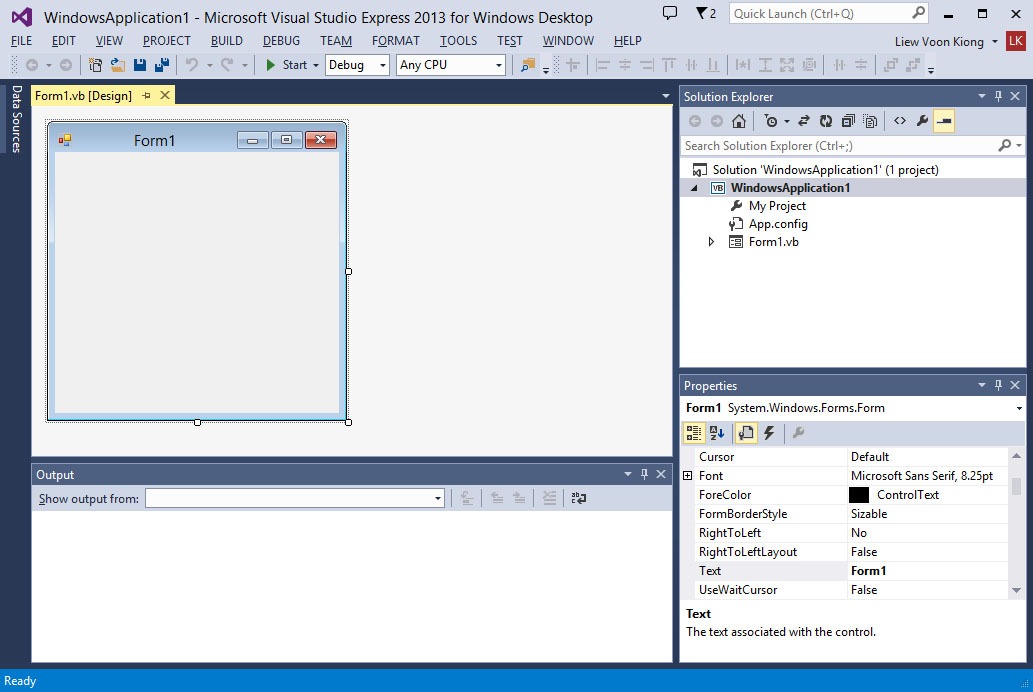
VB2013 IDE comprises a few windows, the Form window, the Solution Explorer window and the Properties window. It also consists of a toolbox which contains many useful controls that allows a programmer to develop his or her Visual Basic 2013 programs. The toolbox is shown in Figure 1.5.

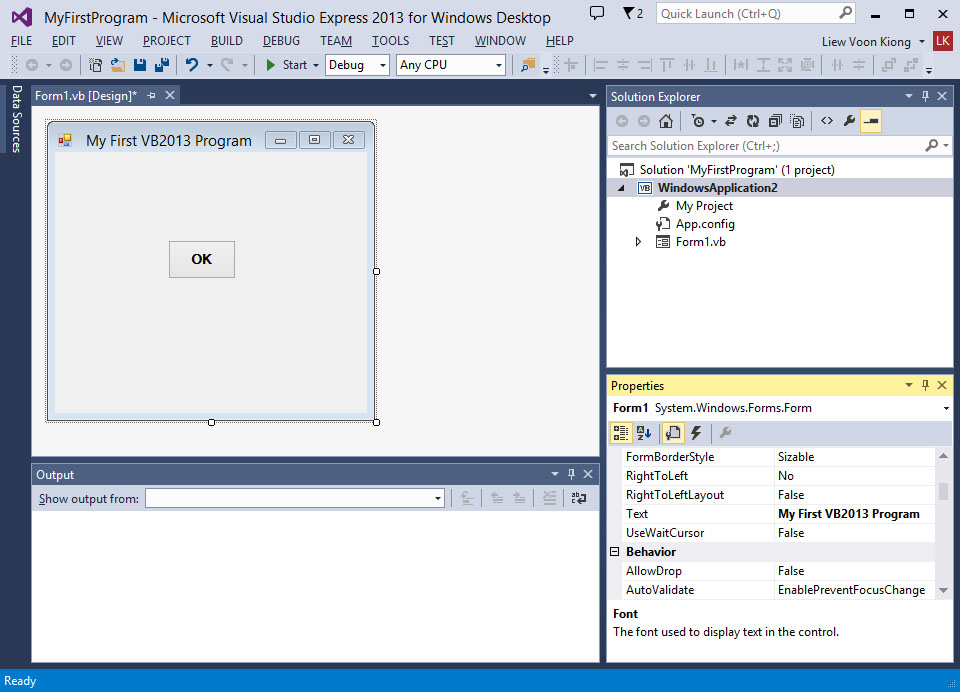
Now, we shall proceed to show you how to create your first program. First, change the text of the form to My First Program in the properties window, it will appear as the title of the program. Next, insert a button and change its text to OK. The design interface is shown in Figure 1.6.
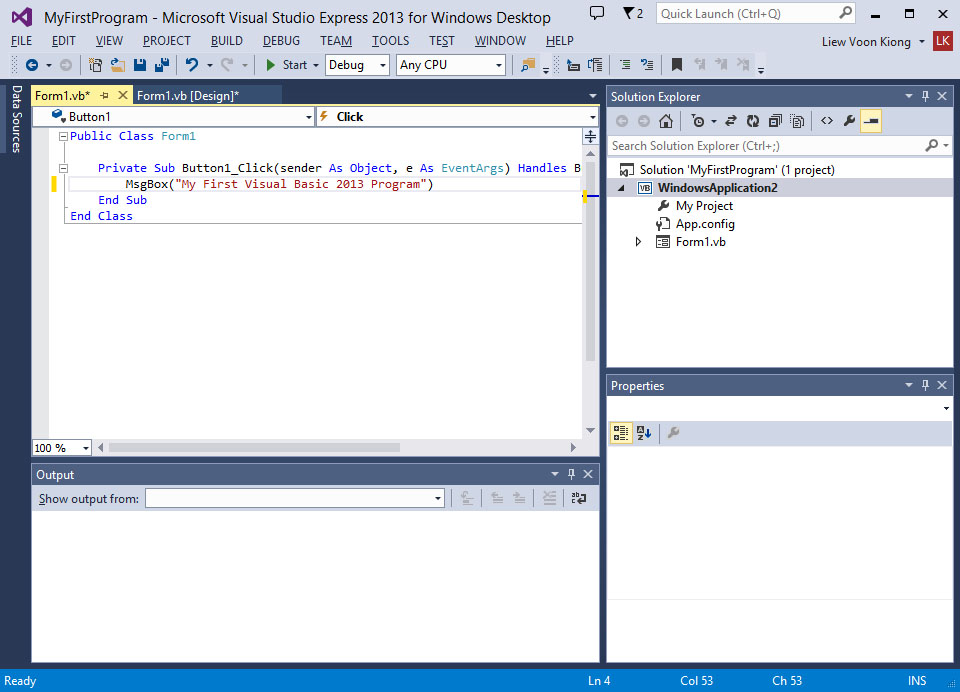
Now click on the OK button to bring up the code window and enter the following statement between Private Sub and End Sub procedure, as shown in Figure 1.7.
MsgBox(“My First Visual Basic 2013 Program”)
Now click on the Start on the toolbar or press F5 to run the program then click on the OK button, a dialog box that displays the “My First Visual Basic 2013 Program″ message will appear, as shown in Figure 1.8.

The function MsgBox is a built-in function of Visual Basic 2013 and it will display the text enclosed within the brackets. Now you have created your first program, we shall learn more VB2013 programming techniques in coming lessons.
Copyright©2008 Dr.Liew Voon Kiong. All rights reserved |Contact|Privacy Policy