Lesson 2: Designing the User Interface in VB2019
Learn how to customize forms, set properties at design-time and runtime, and create professional VB applications
Key Takeaway
Designing an effective User Interface (UI) is the crucial first step in Visual Basic 2019 development. This lesson teaches you how to customize forms and controls to create professional, user-friendly applications.
Prior to creating a Visual Basic 2019 project, you need to conceive an idea of what kind of project you intend to develop. Whether it's a desktop game, multimedia app, financial app, or database management app, having a clear vision is crucial.
2.1 Customizing the Default Form
When you start a new Visual Basic 2019 project, the IDE displays the default form along with the Solution Explorer and Properties windows. The Properties window is your central hub for customizing form appearance during design-time.
1 Plan Your Application
Start with a paper sketch to visualize your design before using the VB2019 IDE. Spending 15 minutes sketching can save hours of redesign later.
2 Design in VB2019 IDE
Customize the default form by modifying properties during design-time. Add controls from the toolbox and define their properties.
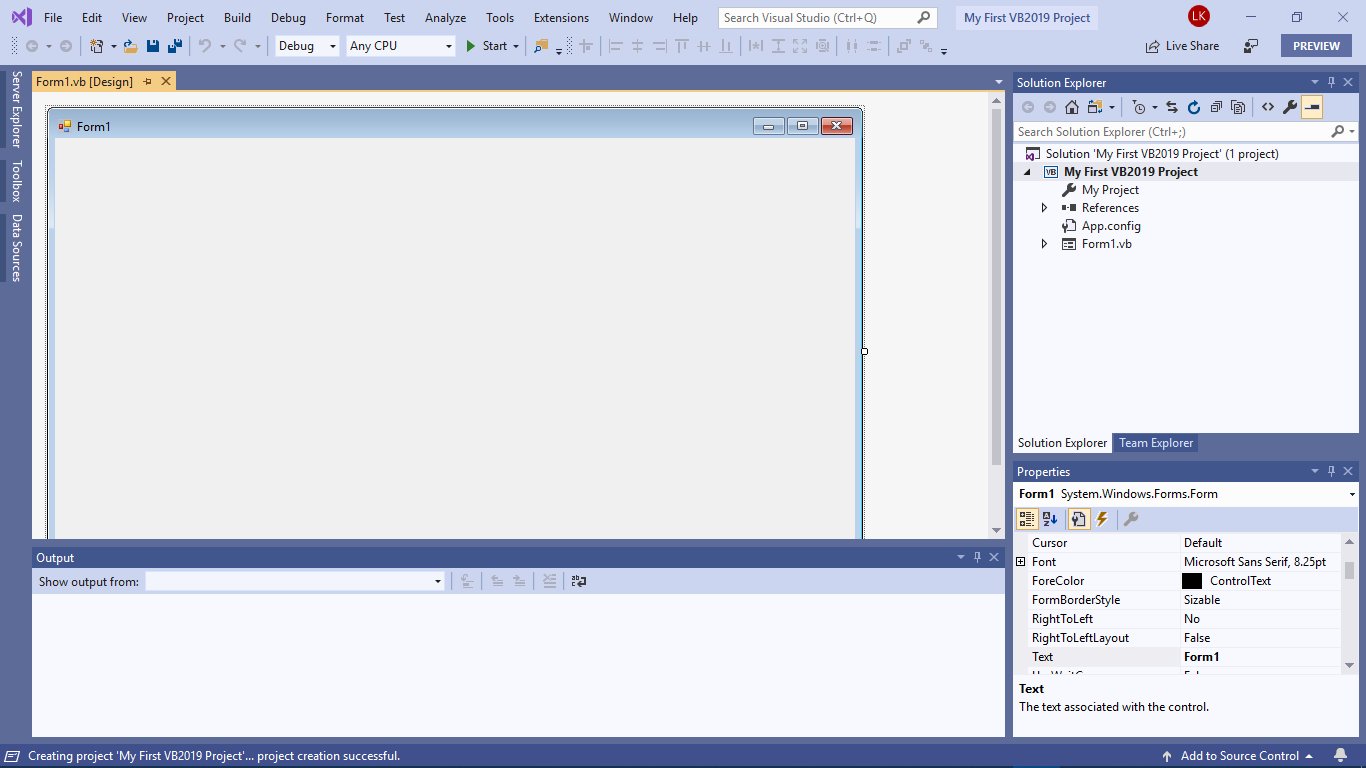
Understanding the Properties Window
The Properties window comprises an object drop-down list, a list of properties, and a description pane that explains the selected property.
Object List
Drop-down list to select different controls on your form
Properties List
Comprehensive list of properties for the selected object
Description Pane
Detailed explanation of each property's purpose
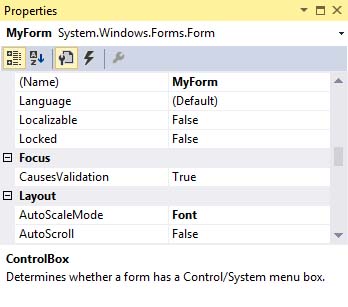
Let's configure these essential properties for Form1:
| Property | Value | Description |
|---|---|---|
| Name | MyForm | Identifier for the form in code |
| Text | My First VB2019 Program | Title bar text |
| BackColor | 255, 51, 153 (Pink) | Background color |
| ForeColor | White | Text color |
| MaximizeBox | False | Disables maximize button |
| Font | Arial, 9.75pt | Default font for controls |
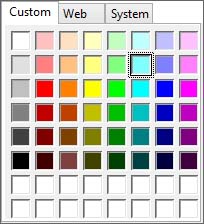
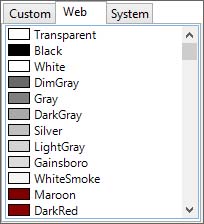
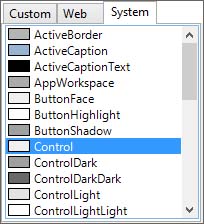
You can select colors from three tabs in the color picker:
2.2 Changing Form Properties at Runtime
You can dynamically modify form properties during program execution using code. The default form is represented by the Me keyword:
' Change form properties at runtime
Me.BackColor = Color.Cyan
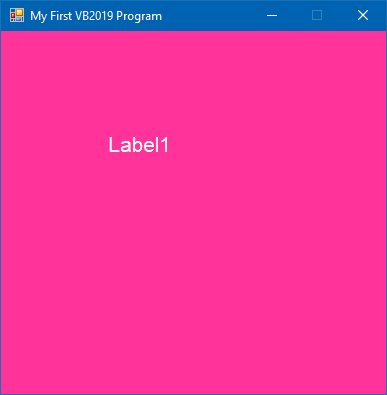
Example 2.1: Setting Form Properties in Code
Public Class Form1
    Private Sub Form1_Load(sender As Object, e As EventArgs) Handles MyBase.Load
        Me.Text = "My First VB2019 Program"
        Me.BackColor = Color.Pink
        Me.MaximizeBox = False
        Me.MinimizeBox = True
    End Sub
End Class
Output:
Example 2.2: Advanced Form Customization
Private Sub Form1_Load(sender As Object, e As EventArgs) Handles MyBase.Load
    Me.Text = "My First VB2019 Project"
    Me.BackColor = Color.Beige
    Me.MaximizeBox = False
    Me.MinimizeBox = True

    ' Set form size to 400x400 pixels
    Me.Size = New Size(400, 400)

    ' Set form opacity to 85%
    Me.Opacity = 0.85

    ' Center form on screen
    Me.CenterToParent()
End Sub
Output:

Lesson Summary
In this lesson, you've learned how to create professional user interfaces in VB2019:
UI Planning
Always sketch your UI design before implementation
Properties Window
The central place for customizing form appearance at design-time
Runtime Customization
Use the Me keyword to modify properties programmatically
Advanced Features
Positioning, sizing, and opacity control for professional interfaces
You've learned how to customize the VB2019 form both at design-time and runtime. In the next lesson, we'll explore how to enhance the UI with various controls and their properties.
Next Lesson
Ready to learn how to enhance the UI? Continue to Lesson 3: Enhancing the UI.
Related Resources
Visual Basic 2019 Made Easy
Unlock the power of Visual Basic 2019 with this comprehensive, easy-to-follow handbook written by Dr. Liew, renowned educator and founder of the popular programming tutorial website VBtutor.net. Whether you're new to programming or brushing up your skills, this book is your perfect companion to learn Visual Basic 2019 from the ground up.
What You'll Learn:
- Understand Core Programming Concepts: Grasp the foundational principles of Visual Basic 2019, including variables, data types, conditional logic, loops, and event-driven programming.
- Develop Real Windows Desktop Applications: Build fully functional and interactive Windows apps using Visual Studio 2019—guided through step-by-step tutorials.
- Apply Dozens of Ready-to-Use Examples: Explore a rich collection of practical sample programs, from basic calculators to image viewers and database applications.
- Adapt and Reuse Code for Your Own Projects: Customize professionally written code snippets to speed up your development process and bring your ideas to life.
- Package and Deploy Like a Pro: Learn how to compile, test, and distribute your Visual Basic applications seamlessly with built-in deployment tools.

Visual Basic Programming With Code Examples
Visual Basic Programming with Code Examples offers a unique dual-format approach, showcasing sample codes in both Visual Basic 6 (VB6) and VB.NET. This side-by-side presentation helps you understand the evolution of Visual Basic and empowers you to work confidently across both environments.
What You'll Learn:
- Core Concepts Made Easy: Explore data types, control structures, file handling, procedures, user interface design, and more.
- Hands-On Application Building: Design real-world applications, including financial calculators, educational tools, games, multimedia apps, and database systems.c
- 48 Practical Code Examples: Study and customize fully explained programs that illustrate key programming techniques.
- Dual-Code Format: Learn to translate and adapt code between VB6 and VB.NET seamlessly.