Lesson 3: Enhancing the UI in VB2019
Learn how to add controls from the Toolbox, customize their properties, and design professional interfaces
Key Takeaway
Enhancing the User Interface (UI) is a crucial step in Visual Basic 2019 development. This lesson teaches you how to use the Toolbox to add controls and customize them to create professional, interactive applications.
In this lesson, we shall enhance the UI by adding controls to the default Form. Controls are objects that consist of three elements, namely properties, methods, and events. They can be added to the Form from the Toolbox.
Among the controls, the most common ones are the button, label, text box, list box, combo box, PictureBox, checkbox, radio and more. We can make the controls visible or invisible at runtime. However, some controls will only run in the background and invisible at runtime, one such control is the timer. To add a control to the Form, just drag the control from the toolbox and drop it onto the Form. You can drag the control around the form and also resize it.
3.1 The Toolbox
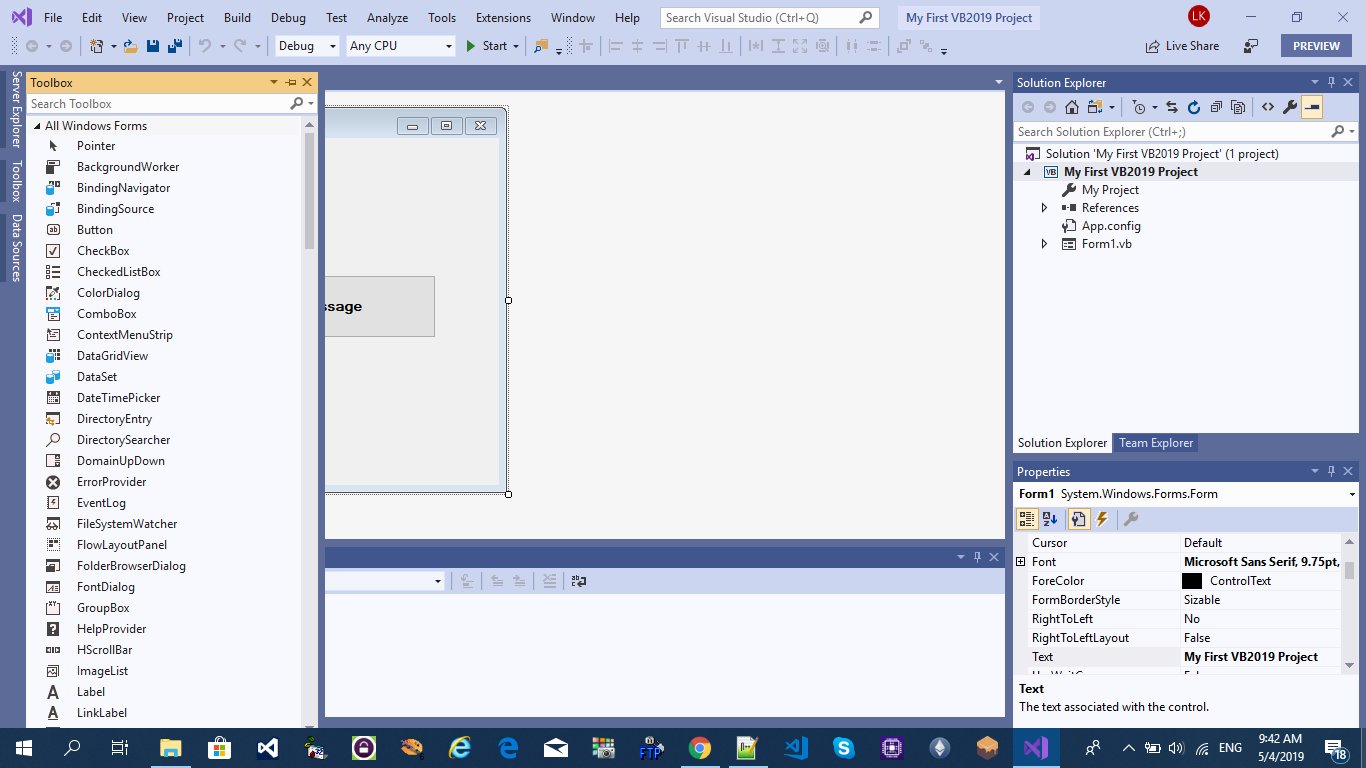
The Toolbox is usually hidden when you start Visual Basic 2019. You can click View on the menu bar and then select Toolbox to reveal the toolbox. Besides that, you can also use shortcut keys Ctrl+Alt+x to bring out the toolbox. You can drag and dock the Toolbox around the IDE. It is docked at the left of the IDE window, as shown in Figure 3.1.
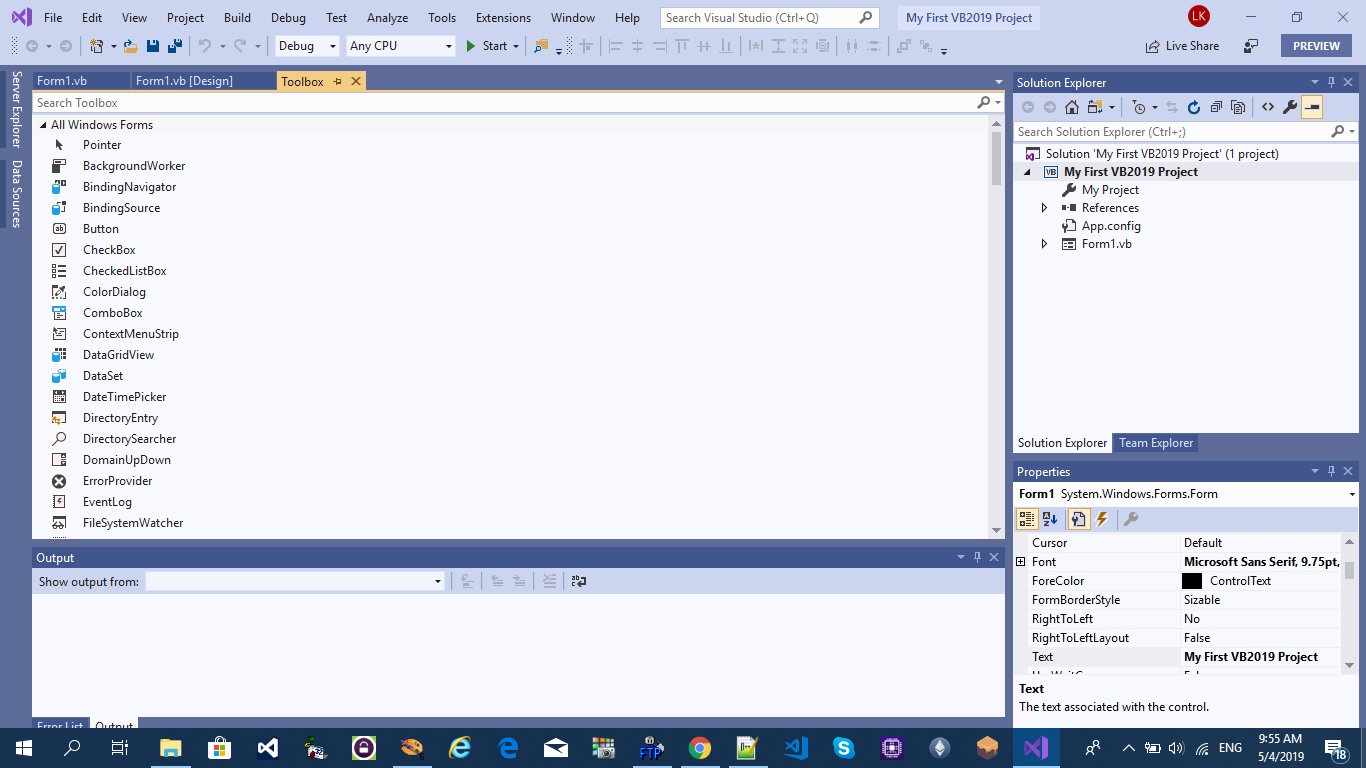
You can change the position of the toolbox by dragging it to anywhere you like while its status is set to float. You can also dock the toolbox by right-clicking on the toolbox and choose dock from the pop-up menu. The docked toolbox that appears as a tabbed document with the default Form is as shown in Figure 3.2.
In addition, you may also pin the toolbox to the sidebar or the bottom bar by clicking on the pin icon on the menu bar of the toolbox.
How and where you want to position your toolbox in Visual Basic 2019 IDE is entirely up to you but I strongly suggest that you place the toolbox alongside or at the bottom of the default form so that it is easy for you to add controls from the toolbox into the form. You should never cover the form with the toolbox because it will be difficult to add controls to the form.
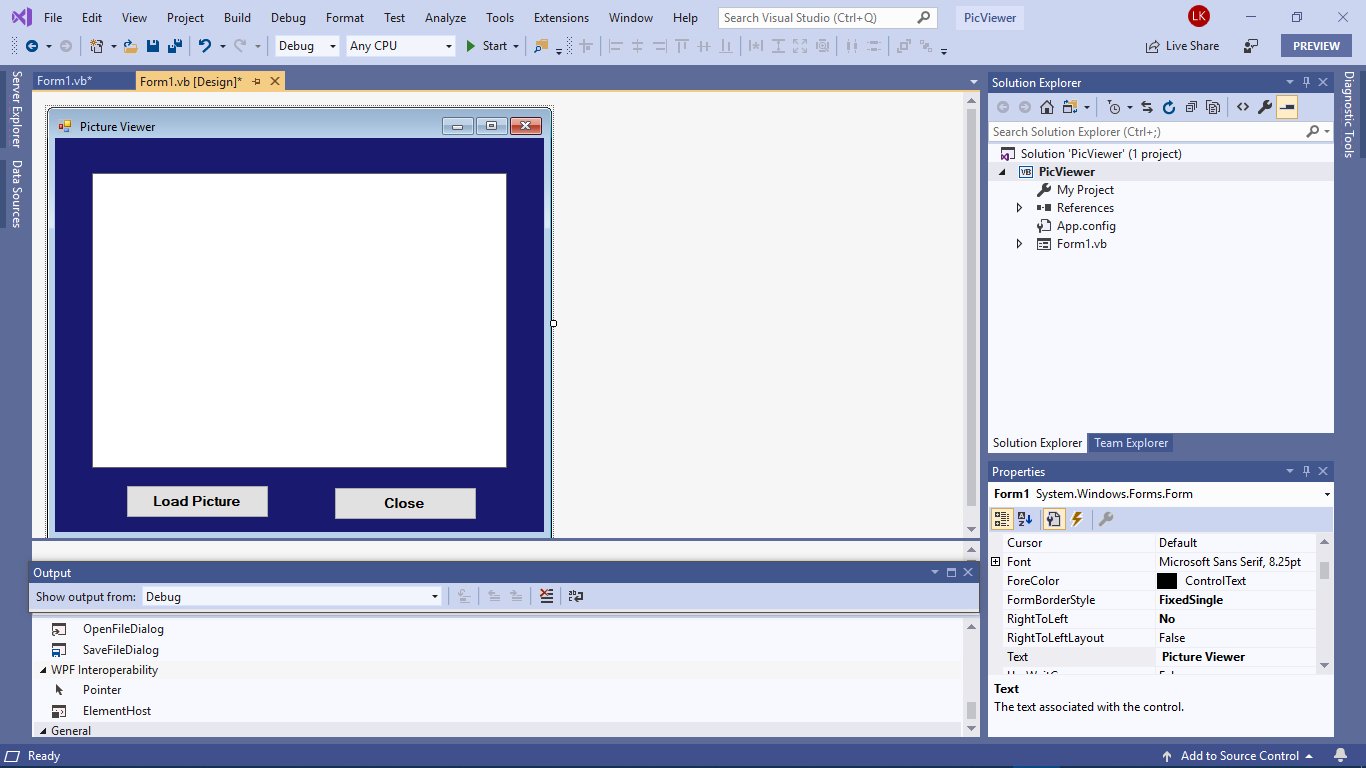
3.2 Designing the UI of a Picture Viewer
In this section, we shall demonstrate how to design a picture viewer. First, change the title of the default form to Picture Viewer in its properties window. Next, drag the PictureBox control to the Form and change its background color to white. To do this, right-click the PictureBox and select properties in the popup menu, then look for the BackColor Property in the Properties window. Next, add two buttons to the form and change the text to Load Picture and Close in their respective properties windows. Now, we have designed a basic picture viewer in VB2019. We shall add more features later.
The picture viewer is not functional until we write code to respond to events triggered by the user. We will deal with the coding part in another lesson.
Example 3.1: Picture Viewer Controls
Public Class PictureViewerForm
    Private Sub LoadPictureButton_Click(sender As Object, e As EventArgs) Handles btnLoad.Click
        ' Create an OpenFileDialog to select an image
        Dim openFileDialog As New OpenFileDialog()
        openFileDialog.Filter = "Image Files|*.jpg;*.jpeg;*.png;*.gif;*.bmp"

        ' If user selects an image file
        If openFileDialog.ShowDialog() = DialogResult.OK Then
            ' Load the image into the PictureBox
            PictureBox1.Image = Image.FromFile(openFileDialog.FileName)
        End If
    End Sub

    Private Sub CloseButton_Click(sender As Object, e As EventArgs) Handles btnClose.Click
        ' Close the application
        Me.Close()
    End Sub
End Class
Output:
Lesson Summary
In this lesson, you've learned how to enhance user interfaces in VB2019:
Toolbox Usage
Access and position the toolbox for efficient control placement
Control Properties
Customize controls like PictureBox and Buttons at design-time
Practical Implementation
Created a functional Picture Viewer UI
Best Practices
Positioning the toolbox for optimal workflow
You've learned how to enhance VB2019 forms with controls from the toolbox. In the next lesson, we'll explore how to write code to make your UI functional.
Next Lesson
Ready to learn how to make your UI functional? Continue to Lesson 4: Writing the Code.
Related Resources
Visual Basic 2019 Made Easy
Unlock the power of Visual Basic 2019 with this comprehensive, easy-to-follow handbook written by Dr. Liew, renowned educator and founder of the popular programming tutorial website VBtutor.net. Whether you're new to programming or brushing up your skills, this book is your perfect companion to learn Visual Basic 2019 from the ground up.
What You'll Learn:
- Understand Core Programming Concepts: Grasp the foundational principles of Visual Basic 2019, including variables, data types, conditional logic, loops, and event-driven programming.
- Develop Real Windows Desktop Applications: Build fully functional and interactive Windows apps using Visual Studio 2019—guided through step-by-step tutorials.
- Apply Dozens of Ready-to-Use Examples: Explore a rich collection of practical sample programs, from basic calculators to image viewers and database applications.
- Adapt and Reuse Code for Your Own Projects: Customize professionally written code snippets to speed up your development process and bring your ideas to life.
- Package and Deploy Like a Pro: Learn how to compile, test, and distribute your Visual Basic applications seamlessly with built-in deployment tools.

Visual Basic Programming With Code Examples
Visual Basic Programming with Code Examples offers a unique dual-format approach, showcasing sample codes in both Visual Basic 6 (VB6) and VB.NET. This side-by-side presentation helps you understand the evolution of Visual Basic and empowers you to work confidently across both environments.
What You'll Learn:
- Core Concepts Made Easy: Explore data types, control structures, file handling, procedures, user interface design, and more.
- Hands-On Application Building: Design real-world applications, including financial calculators, educational tools, games, multimedia apps, and database systems.c
- 48 Practical Code Examples: Study and customize fully explained programs that illustrate key programming techniques.
- Dual-Code Format: Learn to translate and adapt code between VB6 and VB.NET seamlessly.