Lesson 7: Mastering PictureBox Controls in VB2022
Display and Manipulate Images in Your Visual Basic Applications
Key Takeaway
The PictureBox control allows you to display images in various formats (JPG, PNG, BMP, GIF) and provides properties to control how images are displayed. Mastering PictureBox enables you to create rich visual applications in VB2022.
Welcome to Lesson 7 of our Visual Basic 2022 Tutorial! In this lesson, you'll learn how to effectively work with the PictureBox control to display and manipulate images in your VB applications. This powerful component allows you to enhance your programs with visual content.
Learning Objectives
- Understand PictureBox properties and methods
- Load images at design time and runtime
- Use OpenFileDialog for user image selection
- Control image display with SizeMode property
- Implement image manipulation features
- Create a simple image gallery
7.1 Understanding PictureBox
The PictureBox control is used to display images on forms. It supports various image formats and provides properties to control how the image is displayed.
Key PictureBox Properties
| Property | Description |
|---|---|
Image |
The image displayed in the PictureBox |
SizeMode |
Controls how the image is displayed (Normal, StretchImage, AutoSize, CenterImage, Zoom) |
BorderStyle |
Determines the border style (None, FixedSingle, Fixed3D) |
BackColor |
Background color when no image is displayed |
7.1.1 Loading Images at Design Time
To add an image at design time:
1 Insert PictureBox
Drag a PictureBox from the toolbox to your form. Set properties:
- Name: picDisplay
- BorderStyle: FixedSingle
- BackColor: White
2 Set SizeMode
Choose how the image will be displayed:
- Normal: Image placed at top-left
- StretchImage: Image stretched to fit
- AutoSize: Control resized to image
- CenterImage: Image centered in control
- Zoom: Image proportionally scaled
3 Load Image
In Properties window, find the Image property and click the ellipsis (...) button. Select an image file to import.


7.1.2 Loading Images at Runtime
Load images programmatically using Image.FromFile:
Private Sub Form1_Load(sender As Object, e As EventArgs) Handles MyBase.Load
    ' Load image at runtime
    picDisplay.Image = Image.FromFile("C:\Images\sample.jpg")
End Sub
Important Tip
Always check if the file exists before loading to prevent runtime errors:
If File.Exists("C:\Images\sample.jpg") Then
    picDisplay.Image = Image.FromFile("C:\Images\sample.jpg")
Else
    MessageBox.Show("Image file not found!")
End If
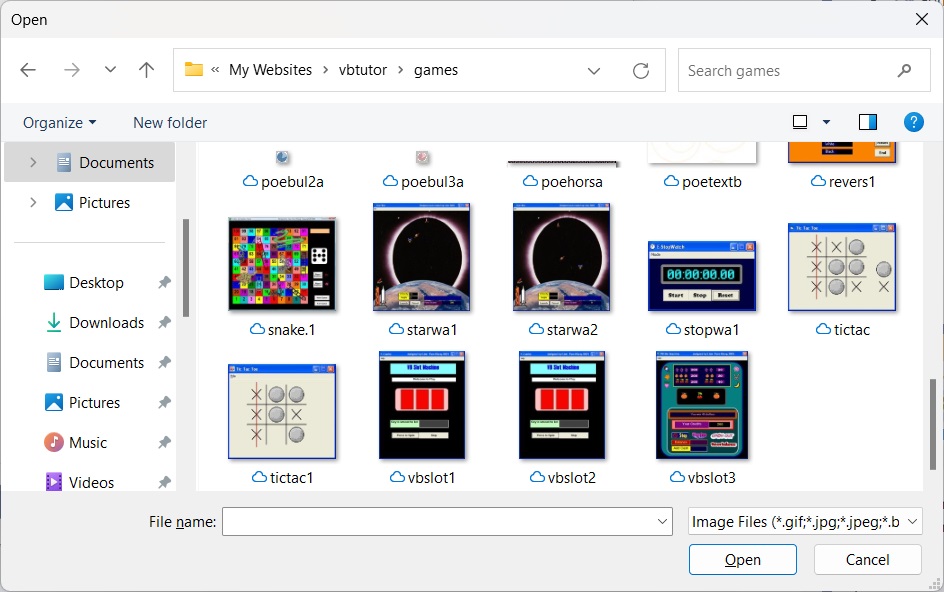
7.2 Using OpenFileDialog to Load Images
Create a user-friendly way for users to select images from their computer:
1 Add OpenFileDialog
Drag an OpenFileDialog control to your form and set properties:
- Name: ofdImageSelector
- Filter: Image Files|*.jpg;*.jpeg;*.png;*.bmp;*.gif
- Title: Select an Image File
2 Create Browse Button
Add a button to trigger the file dialog:
Private Sub btnBrowse_Click(sender As Object, e As EventArgs) Handles btnBrowse.Click
    If ofdImageSelector.ShowDialog() = DialogResult.OK Then
    End If
        picDisplay.Image = Image.FromFile(ofdImageSelector.FileName)

End Sub
7.3 Understanding SizeMode Property
The SizeMode property controls how the image is displayed within the PictureBox:
Normal
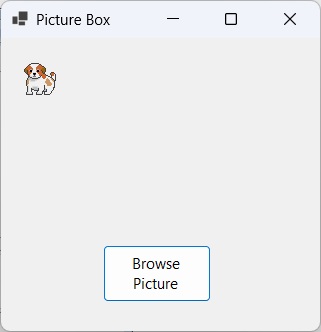
Image placed at top-left corner
picDisplay.SizeMode = PictureBoxSizeMode.Normal
StretchImage
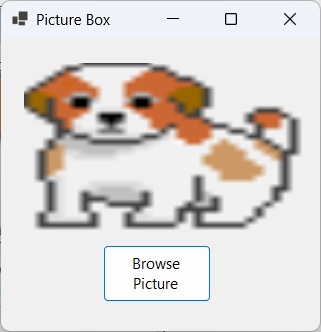
Image stretched to fit control
picDisplay.SizeMode = PictureBoxSizeMode.StretchImage
AutoSize

Control resized to fit image
picDisplay.SizeMode = PictureBoxSizeMode.AutoSize
CenterImage
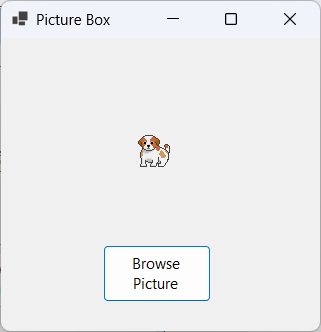
Image centered in control
picDisplay.SizeMode = PictureBoxSizeMode.CenterImage
Zoom
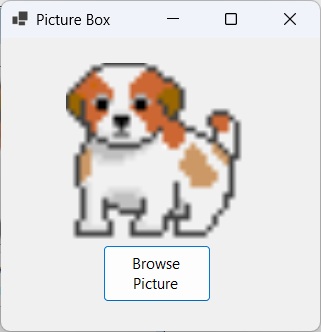
Image proportionally scaled
picDisplay.SizeMode = PictureBoxSizeMode.Zoom
7.4 Advanced PictureBox Features
7.4.1 Clearing an Image
Remove the current image from the PictureBox:
Private Sub btnClear_Click(sender As Object, e As EventArgs) Handles btnClear.Click
    ' Clear the image
    picDisplay.Image = Nothing

    ' Optional: Set a placeholder image
    ' picDisplay.Image = My.Resources.PlaceholderImage
End Sub
7.4.2 Saving the Displayed Image
Add the ability to save the current image:
Private Sub btnSave_Click(sender As Object, e As EventArgs) Handles btnSave.Click
    If picDisplay.Image IsNot Nothing Then
        Dim saveDialog As New SaveFileDialog()
        saveDialog.Filter = "JPEG Image|*.jpg|PNG Image|*.png|Bitmap Image|*.bmp"
        saveDialog.Title = "Save Image As"

        If saveDialog.ShowDialog() = DialogResult.OK Then
            ' Determine format based on file extension
            Dim format As Imaging.ImageFormat
            Select Case Path.GetExtension(saveDialog.FileName).ToLower()
                Case ".jpg", ".jpeg"
                    format = Imaging.ImageFormat.Jpeg
                Case ".png"
                    format = Imaging.ImageFormat.Png
                Case ".bmp"
                    format = Imaging.ImageFormat.Bmp
                Case Else
                    format = Imaging.ImageFormat.Jpeg
            End Select

            picDisplay.Image.Save(saveDialog.FileName, format)
            MessageBox.Show("Image saved successfully!")
        End If
    Else
        MessageBox.Show("No image to save!")
    End If
End Sub
7.4.3 Creating a Simple Image Gallery
Implement a gallery with next/previous buttons:
Dim imageList As New List(Of String)
Dim currentIndex As Integer = 0

Private Sub LoadImageGallery()
    ' Add images to the list
    imageList.Add("C:\Images\image1.jpg")
    imageList.Add("C:\Images\image2.jpg")
    imageList.Add("C:\Images\image3.jpg")

    ' Display first image
    If imageList.Count > 0 Then
        picDisplay.Image = Image.FromFile(imageList(0))
    End If
End Sub

Private Sub btnNext_Click(sender As Object, e As EventArgs) Handles btnNext.Click
    If imageList.Count > 0 Then
        currentIndex = (currentIndex + 1) Mod imageList.Count
        picDisplay.Image = Image.FromFile(imageList(currentIndex))
    End If
End Sub

Private Sub btnPrevious_Click(sender As Object, e As EventArgs) Handles btnPrevious.Click
    If imageList.Count > 0 Then
        currentIndex = (currentIndex - 1 + imageList.Count) Mod imageList.Count
        picDisplay.Image = Image.FromFile(imageList(currentIndex))
    End If
End Sub
Gallery Preview:
Lesson Summary
In this lesson, we covered essential techniques for working with PictureBox controls in VB2022:
Image Loading
Use Image.FromFile to load images at runtime and the Properties window for design-time loading
User Selection
Implement OpenFileDialog for user-friendly image selection
Size Modes
Utilize SizeMode property to control image display (Normal, StretchImage, Zoom, AutoSize)
Image Manipulation
Clear images with Image = Nothing and save with Image.Save()
Galleries
Create image galleries using List collections and navigation controls
These skills enable you to create visually rich applications. In the next lesson, we'll explore data types in VB2022.
Exercises
Practice what you've learned with these exercises:
Exercise 1: Image Viewer Application
Create an application with:
- Browse button to select images using OpenFileDialog
- Clear button to remove current image
- Status label showing image dimensions and file path
- Zoom in/out buttons to adjust image display size
Exercise 2: Image Effects
Enhance your image viewer with:
- Rotation buttons (90° left/right)
- Grayscale conversion
- Image flip (horizontal/vertical)
Exercise 3: Slide Show Application
Develop an automatic slideshow with:
- Folder selection to load multiple images
- Play/Pause/Stop controls
- Adjustable transition speed
- Transition effects (fade, slide, etc.)
Next Lesson
Ready to learn about data types? Continue to Lesson 8: Understanding Data Types in VB2022.
Related Resources

Visual Basic 2022 Made Easy
The ultimate beginner-friendly guide for mastering Windows-based application development using Visual Basic in Visual Studio 2022. Whether you're a student, teacher, hobbyist, or self-learner, this book offers a clear, step-by-step approach to help you get started with ease.
What You'll Learn:
- Introduction to the Visual Studio 2022 IDE
- Working with variables, data types, loops, and procedures
- Designing forms and creating user-friendly interfaces
- Using controls such as buttons, text boxes, and combo boxes
- Menus, dialog boxes, file handling, and more

Mastering Excel VBA 365
Your ultimate step-by-step guide to automating tasks, building macros, and creating powerful applications within Microsoft Excel 365. Whether you're a student, business professional, or aspiring programmer, this comprehensive handbook will help you unlock the full potential of Excel's VBA.
What You'll Learn:
- Write and debug efficient VBA code
- Use controls, loops, and conditional logic
- Automate repetitive Excel tasks
- Handle errors and create UserForms
- Work with Excel objects and charts