Customizing the Form
In this lesson, you will learn how to customize the default form in Visual Basic 2015. You will explore the Properties Window and learn how to modify the form both at design-time and run-time.
Every VB.NET application starts with a form. Customizing the form is the first step toward building a usable graphical user interface (GUI).
Lesson Overview
2.1 Overview
Building the GUI
The first step in developing a Visual Basic application is to build the graphical user interface (GUI). When you start VB2015, you are presented with a default form.
To create a usable application, you must add controls such as buttons, labels, and textboxes. These controls respond to user actions like clicking and typing.
- VB2015 is an event-driven language
- Controls respond to user actions
- Forms act as the main interface
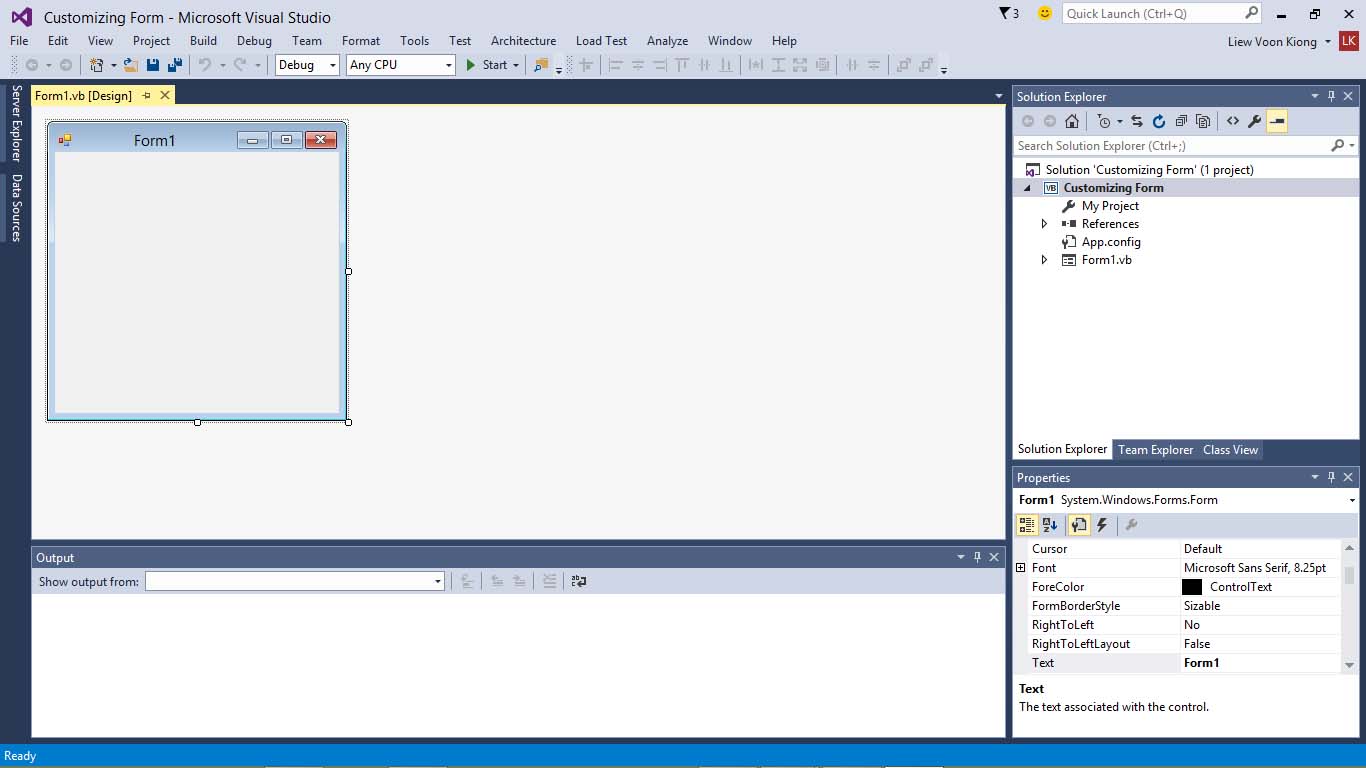
Figure 2.1: VB2015 IDE
2.2 Properties Window
Customizing Form Properties
The Properties Window allows you to change the appearance and behavior of a form. You can modify properties such as name, text, color, and size.
- Name → internal reference
- Text → title bar
- BackColor → background color
- Font → appearance
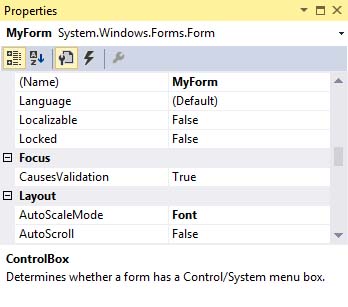
Figure 2.2: Properties Window
Example Properties
| Property | Value |
|---|---|
| Name | MyForm |
| Text | My First VB2015 Project |
| BackColor | Cyan |
| MaximizeBox | False |
Color Selection
You can choose colors using RGB values or the built-in palette.

Custom Palette
2.3 Run-Time Customization
Using Code to Modify Properties
You can also change form properties using code at runtime.
Me.BackColor = Color.CyanPrivate Sub Form1_Load(...) Handles MyBase.Load
Me.Text = "My First VB2015 Project"
Me.BackColor = Color.Cyan
Me.MaximizeBox = False
End Sub
Figure 2.6: Final Output
Lesson Summary
- Forms are the foundation of VB.NET applications
- Properties control appearance and behavior
- You can modify properties at design-time and run-time