Adding Controls to the Form
In this lesson, you will learn how to add controls such as buttons, labels, and textboxes to your Visual Basic 2015 form. Controls are the building blocks of any GUI application.
Controls make your application interactive. Without controls, your program is just an empty form.
Lesson Overview
3.1 Introduction
What are Controls?
Controls are objects that you place on a form to create a user interface. They allow users to interact with your program through clicking, typing, and selecting.
- Button → perform actions
- Label → display text
- TextBox → accept input
- Controls respond to events
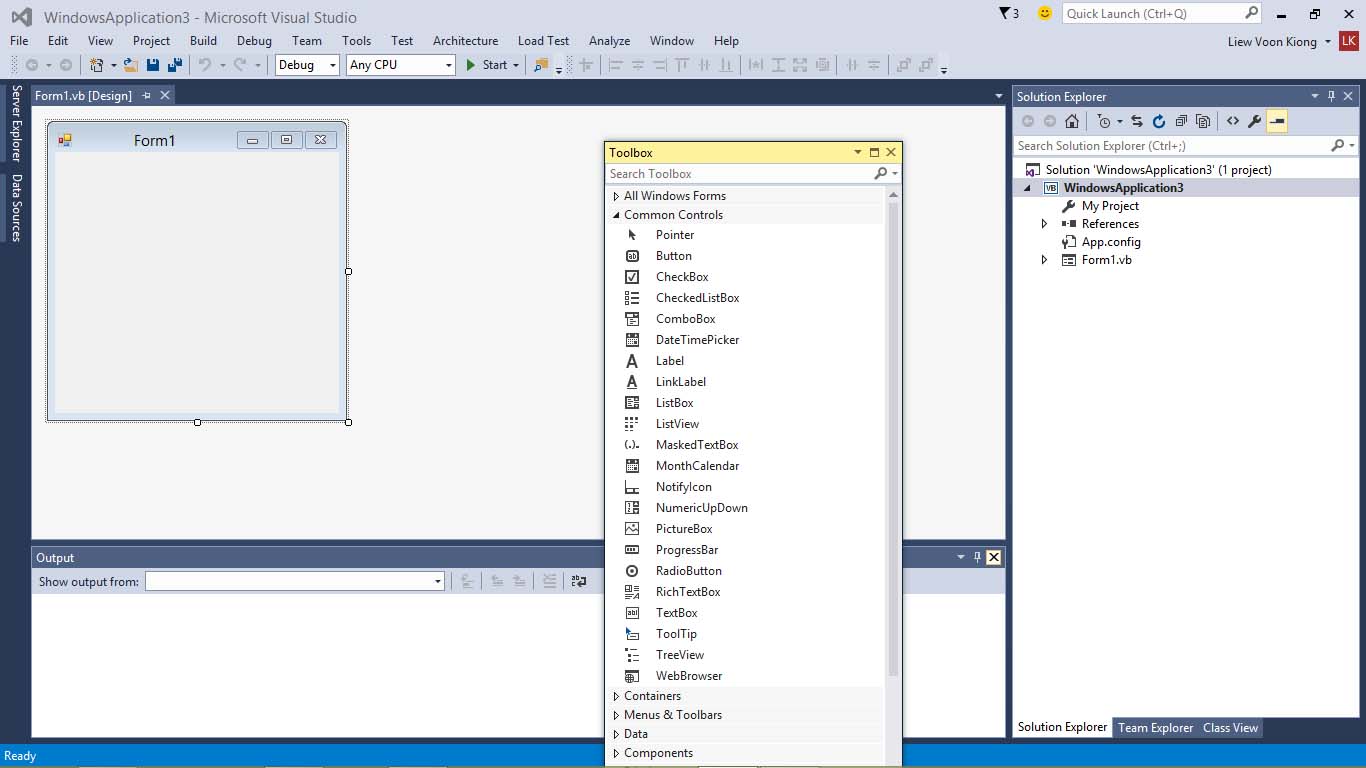
Figure 3.1: Toolbox with controls
3.2 Using the Toolbox
Adding Controls to the Form
To add a control:
- Select a control from the Toolbox
- Drag it onto the form
- Resize and position it
You can place multiple controls to create a complete user interface.
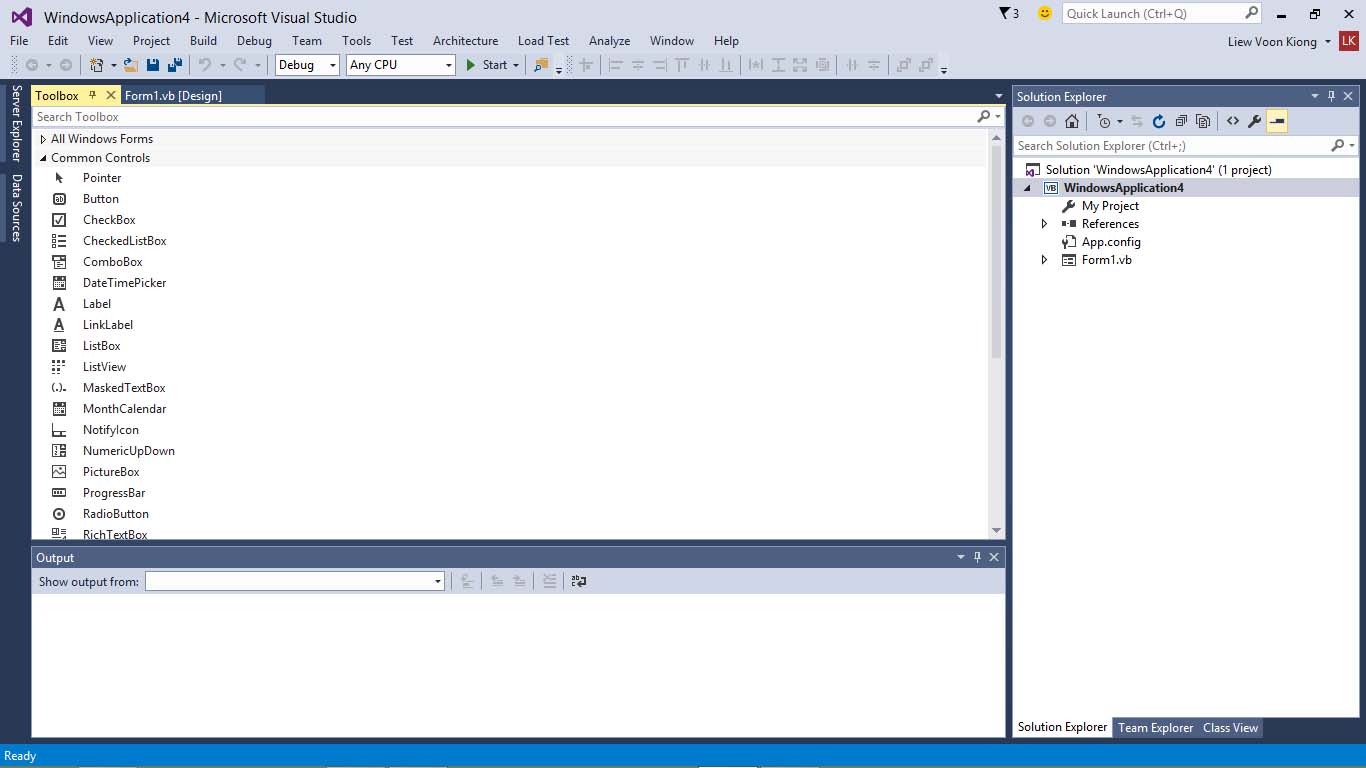
Figure 3.2: Controls placed on the form
3.3 Customizing Controls
Changing Control Properties
After adding controls, you can modify their properties in the Properties Window.
- Text → display message
- Name → control identifier
- Font → appearance
- Color → styling
3.4 Example
Simple Interaction
Private Sub Button1_Click(...) Handles Button1.Click
    Label1.Text = "Welcome to VB2015"
End Sub
When the button is clicked, the label updates its text.
Lesson Summary
- Controls are essential for user interaction
- You add controls from the Toolbox
- Controls can be customized using properties
- Controls respond to events like clicks